Creating Flet apps in Python
To write a Flet app you don't need to be front-end guru, but it's recommended to have a basic knowledge of Python and object-oriented programming.
In this guide we'll study the structure of a Flet app, learn how to output data using Flet controls, request data from a user and build basic page layouts. We will also cover some packaging and deployment options to deliver a ready app to your users.
Installing flet module
Flet requires Python 3.7 or above. To start with Flet, you need to install flet module first:
pip install flet
To upgrade flet module run:
pip install flet --upgrade
To install Flet pre-release (for advanced users) run:
pip install flet --pre
We recommend installing pre-release builds into a virtual environment.
Linux
Running Flet apps on Linux and WSL requires GStreamer libraries installed. Most probably you already have them in your system, but if you are getting error while loading shared libraries: libgstapp-1.0.so.0: cannot open shared object file: No such file or directory while running Flet app then you need to install GStreamer.
To install GStreamer on Ubuntu/Debian run the following commands:
sudo apt-get update
sudo apt-get install libgstreamer1.0-dev libgstreamer-plugins-base1.0-dev libgstreamer-plugins-bad1.0-dev gstreamer1.0-plugins-base gstreamer1.0-plugins-good gstreamer1.0-plugins-bad gstreamer1.0-plugins-ugly gstreamer1.0-libav gstreamer1.0-doc gstreamer1.0-tools gstreamer1.0-x gstreamer1.0-alsa gstreamer1.0-gl gstreamer1.0-gtk3 gstreamer1.0-qt5 gstreamer1.0-pulseaudio
See this guide for installing on other Linux distributives.
WSL
Flet apps can be run on WSL2. If you are getting cannot open display error following this guide for troubleshooting.
Basic app structure
A very minimal Flet app has the following structure:
import flet as ft

def main(page: ft.Page):
    # add/update controls on Page
    pass

ft.app(target=main)
This section is intentionally called "basic" as later in this guide we'll look at more real-world approaches to app structure with reusable controls.
A typical Flet program ends with a call to flet.app() where the app starts waiting for new user sessions. Function main() is an entry point in a Flet application. It's being called on a new thread for every user session with a Page instance passed into it. When running Flet app in the browser a new user session is started for every opened tab or page. When running as a desktop app there is only one session created.
Page is like a "canvas" specific to a user, a visual state of a user session. To build an application UI you add and remove controls to a page, update their properties. Code sample above will be displaying just a blank page to every user.
By default, Flet app starts in a native OS window, which is very handy for developing. However, you can open it in a new browser window by modifying a call to flet.app as following:
ft.app(target=main, view=ft.WEB_BROWSER)
Internally, every Flet app is a web app and even if it's opened in a native OS window a built-in web server is still started on a background. Flet web server is called "Fletd" and by default it's listening on a random TCP port. You can specify a custom TCP port and then open the app in the browser along with desktop view:
flet.app(port=8550, target=main)
Open http://localhost:<port> in your browser to see web version of your Flet app.
Controls
User interface is made of Controls (aka widgets). To make controls visible to a user they must be added to a Page or inside other controls. Page is the top-most control. Nesting controls into each other could be represented as a tree with Page as a root.
Controls are just regular Python classes. Create control instances via constructors with parameters matching their properties, for example:
t = ft.Text(value="Hello, world!", color="green")
To display control on a page add it to controls list of a Page and call page.update() to send page changes to a browser or desktop client:
import flet as ft

def main(page: ft.Page):
    t = ft.Text(value="Hello, world!", color="green")
    page.controls.append(t)
    page.update()

ft.app(target=main)
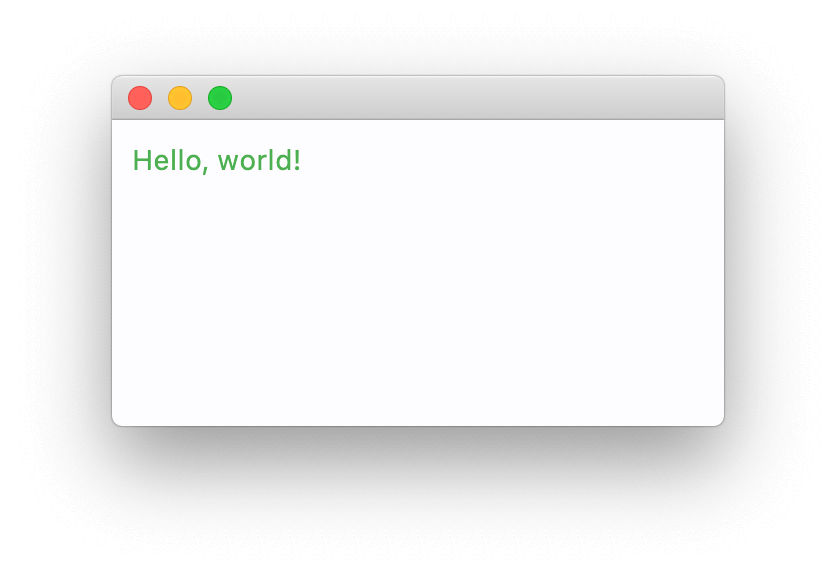
In the following examples we will be showing just the contents of main function.
You can modify control properties and the UI will be updated on the next page.update():
t = ft.Text()
page.add(t) # it's a shortcut for page.controls.append(t) and then page.update()

for i in range(10):
    t.value = f"Step {i}"
    page.update()
    time.sleep(1)
Some controls are "container" controls (like Page) which could contain other controls. For example, Row control allows arranging other controls in a row one-by-one:
page.add(
    ft.Row(controls=[
        ft.Text("A"),
        ft.Text("B"),
        ft.Text("C")
    ])
)
or TextField and ElevatedButton next to it:
page.add(
    ft.Row(controls=[
        ft.TextField(label="Your name"),
        ft.ElevatedButton(text="Say my name!")
    ])
)
page.update() is smart enough to send only the changes made since its last call, so you can add a couple of new controls to the page, remove some of them, change other controls' properties and then call page.update() to do a batched update, for example:
for i in range(10):
    page.controls.append(ft.Text(f"Line {i}"))
    if i > 4:
        page.controls.pop(0)
    page.update()
    time.sleep(0.3)
Some controls, like buttons, could have event handlers reacting on a user input, for example ElevatedButton.on_click:
def button_clicked(e):
    page.add(ft.Text("Clicked!"))

page.add(ft.ElevatedButton(text="Click me", on_click=button_clicked))
and more advanced example for a simple To-Do:
import flet as ft

def main(page):
    def add_clicked(e):
        page.add(ft.Checkbox(label=new_task.value))
        new_task.value = ""
        new_task.focus()
        new_task.update()

    new_task = ft.TextField(hint_text="Whats needs to be done?", width=300)
    page.add(ft.Row([new_task, ft.ElevatedButton("Add", on_click=add_clicked)]))

ft.app(target=main)
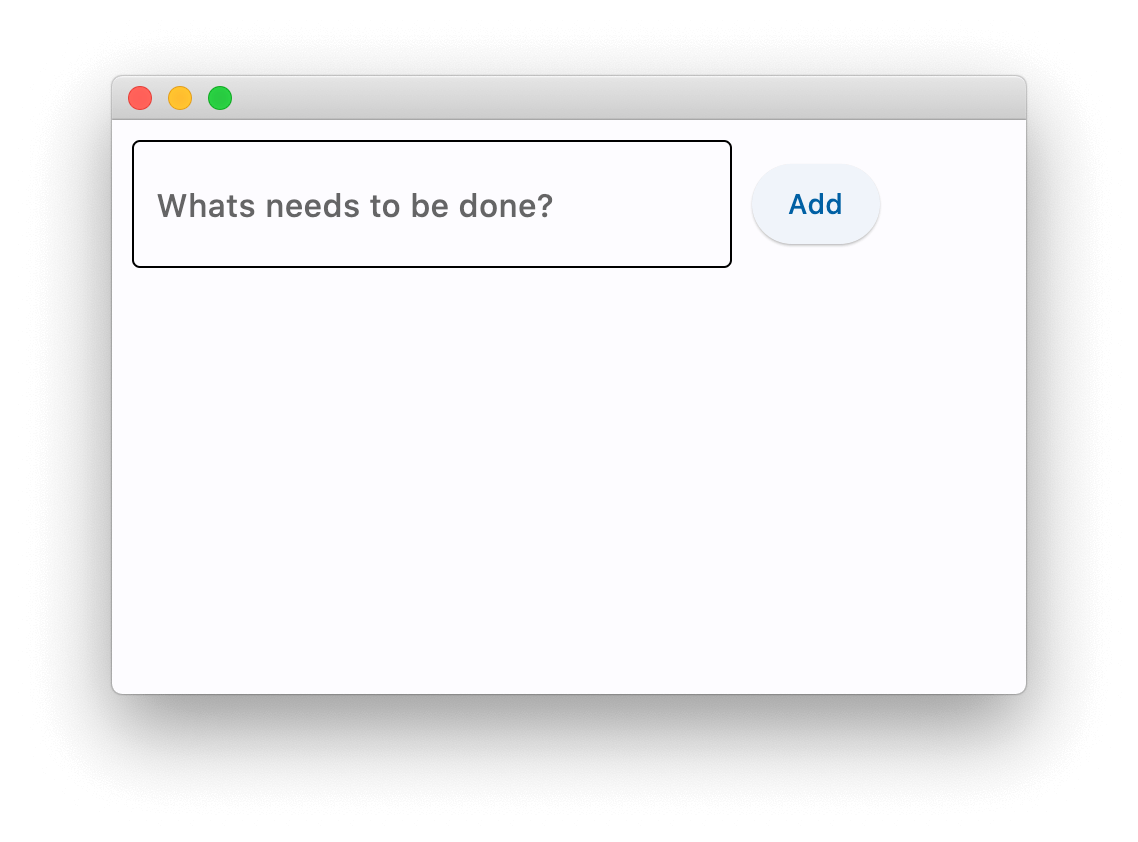
Flet implements imperative UI model where you "manually" build application UI with stateful controls and then mutate it by updating control properties. Flutter implements declarative model where UI is automatically re-built on application data changes. Managing application state in modern frontend applications is inherently complex task and Flet's "old-school" approach could be more attractive to programmers without frontend experience.
visible property
Every control has visible property which is true by default - control is rendered on the page. Setting visible to false completely prevents control (and all its children if any) from rendering on a page canvas. Hidden controls cannot be focused or selected with a keyboard or mouse and they do not emit any events.
disabled property
Every control has disabled property which is false by default - control and all its children are enabled.
disabled property is mostly used with data entry controls like TextField, Dropdown, Checkbox, buttons.
However, disabled could be set to a parent control and its value will be propagated down to all children recursively.
For example, if you have a form with multiple entry control you can set disabled property for each control individually:
first_name = ft.TextField()
last_name = ft.TextField()
first_name.disabled = True
last_name.disabled = True
page.add(first_name, last_name)
or you can put form controls into container, e.g. Column and then set disabled for the column:
first_name = ft.TextField()
last_name = ft.TextField()
c = ft.Column(controls=[
    first_name,
    last_name
])
c.disabled = True
page.add(c)
Control Refs
Flet controls are objects and to access their properties we need to keep references (variables) to those objects.
Consider the following example:
import flet as ft

def main(page):

    first_name = ft.TextField(label="First name", autofocus=True)
    last_name = ft.TextField(label="Last name")
    greetings = ft.Column()

    def btn_click(e):
        greetings.controls.append(ft.Text(f"Hello, {first_name.value} {last_name.value}!"))
        first_name.value = ""
        last_name.value = ""
        page.update()
        first_name.focus()

    page.add(
        first_name,
        last_name,
        ft.ElevatedButton("Say hello!", on_click=btn_click),
        greetings,
    )

ft.app(target=main)
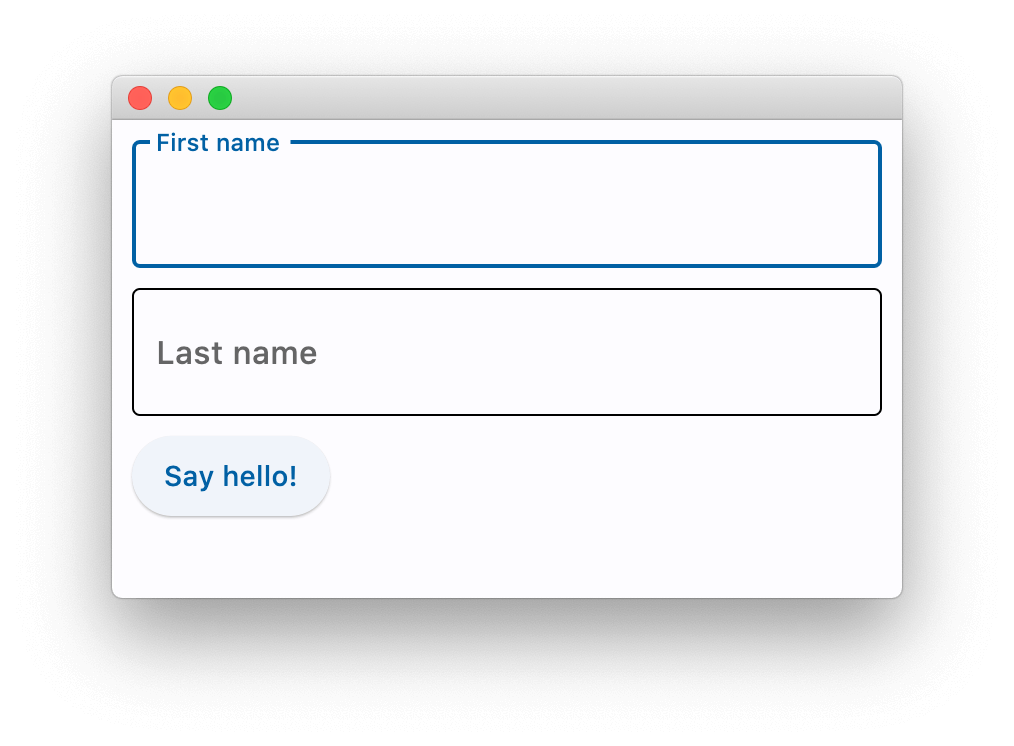
In the very beginning of main() method we create three controls which we are going to use in button's on_click handler: two TextField for first and last names and a Column - container for greeting messages. We create controls with all their properties set and in the end of main() method, in page.add() call, we use their references (variables).
When more and more controls and event handlers are added it becomes challenging to keep all control definitions in one place, so they become scattered across main() body. Glancing at page.add() parameters it's hard to imagine (without constant jumping to variable definitions in IDE) what would the end form look like:
    page.add(
        first_name,
        last_name,
        ft.ElevatedButton("Say hello!", on_click=btn_click),
        greetings,
    )
Is first_name a TextField, does it have autofocus set? Is greetings a Row or a Column?
Flet provides Ref utility class which allows to define a reference to the control, use that reference in event handlers and set the reference to a real control later, while building a tree. The idea comes from React.
To define a new typed control reference:
first_name = ft.Ref[ft.TextField]()
To access referenced control (control de-reference) use Ref.current property:
# empty first name
first_name.current.value = ""
To assign control to a reference, set Control.ref property to a reference:
page.add(
    ft.TextField(ref=first_name, label="First name", autofocus=True)
)
All Flet controls have ref property.
We could re-write our program to use references:
import flet as ft


def main(page):

    first_name = ft.Ref[ft.TextField]()
    last_name = ft.Ref[ft.TextField]()
    greetings = ft.Ref[ft.Column]()

    def btn_click(e):
        greetings.current.controls.append(
            ft.Text(f"Hello, {first_name.current.value} {last_name.current.value}!")
        )
        first_name.current.value = ""
        last_name.current.value = ""
        page.update()
        first_name.current.focus()

    page.add(
        ft.TextField(ref=first_name, label="First name", autofocus=True),
        ft.TextField(ref=last_name, label="Last name"),
        ft.ElevatedButton("Say hello!", on_click=btn_click),
        ft.Column(ref=greetings),
    )

ft.app(target=main)
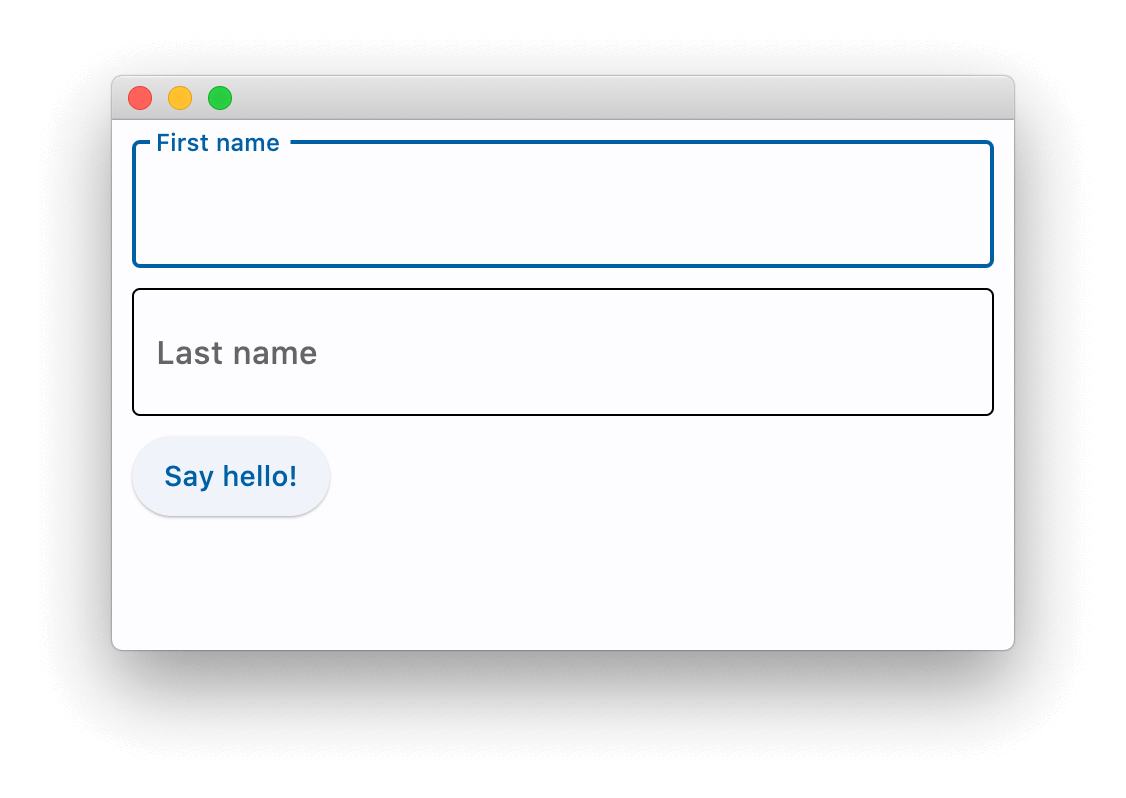
Now we can clearly see in page.add() the structure of the page and all the controls it's built of.
Yes, the logic becomes a little bit more verbose as you need to add .current. to access ref's control, but it's a matter of personal preference :)